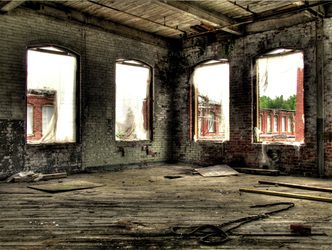
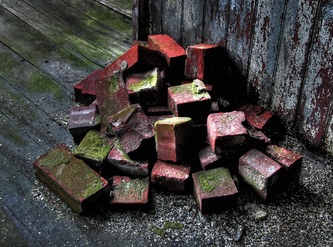
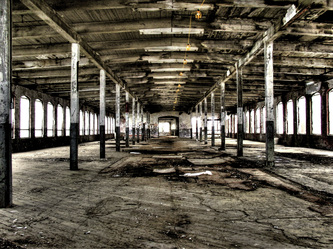
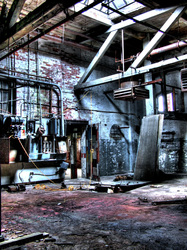
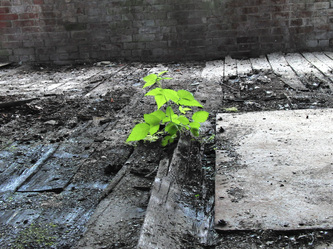
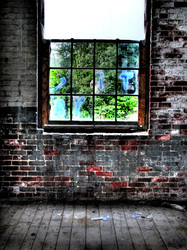
HDR, or High Dynamic Range images utilize a range of methods to represent more contrast in pictures. Non-HDR cameras take pictures at one exposure level with a limited contrast range. This results in the loss of detail in bright or dark areas of a picture, depending on whether the camera had a low or high exposure setting. HDR compensates for this loss of detail by taking multiple pictures at different exposure levels and intelligently stitching them together so that we eventually arrive at a picture that is representative in both dark and bright areas. (According to Wikipedia, the unquestioned authority on everything…ever)
To take HDR photographs, the camera must be held stationary with a tripod on a stable surface such as a sidewalk or street. Putting a tripod on a table or the hood of a car is not recommended, as the movement of the object below the tripod translates to movement of the tripod.
The lighting of the subject of the HDR is very important, as a scene with even, smooth lighting already has most of the characteristics of an HDR, so choose a subject based on contrast lighting. For example, a dark basement or garage with windows that let light in from outside exhibits both dark and bright values, which is important. Night scenes with bright lights from car headlights, store signs, streetlights, etc. also work well. Simply put, you need a scene that contains both a predominance of dark shadow areas and a very bright highlight areas in order to get the HDR effect.
Read the tutorial below to see a step-by-step method of importing your HDR source pictures into Photoshop, as well as some additional tips for taking the pictures.
