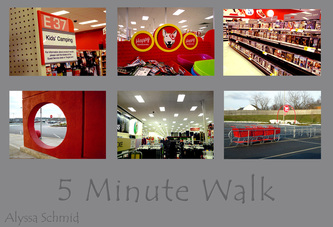
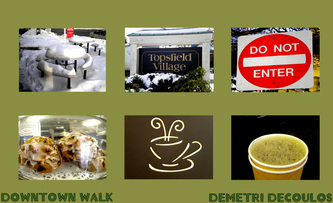
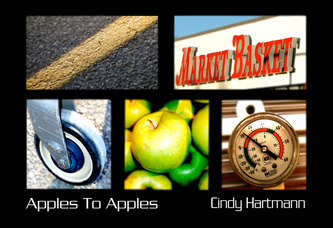
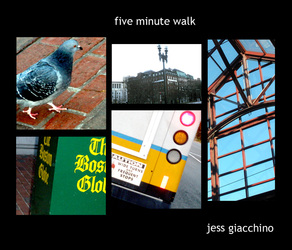
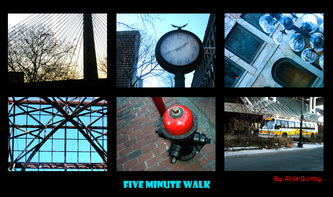
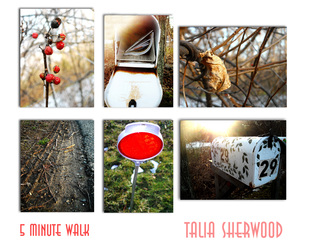
How to Make an Interesting Background for the Five Minute Walk:
The Five Minute Walk Project
1. After taking photographs for this project, open them all in Preview and select what you think are the strongest 5 or 6 images. Base this decision on the composition of the objects in the photograph, the relevance of the subject matter, as well as the feedback received through formal and informal critiquing.
2. Once final images are selected, edit them in Photoshop by cropping, correcting for levels, and adjusting the size/resolution in order to fit into the new document you will be making in the next step.
3. Create a new document in Photoshop (File > New) at a size of about 8 inches high by 10 inches wide, with a resolution of 150 pixels.
4. Resize your pictures in Photoshop (Image > Image Size) to about 3" x 4" at 150 resolution. Drag each picture from the OPEN PICTURE (not the icon from the folder!!!) into the new document using the MOVE TOOL. DO NOT drag the small thumbnail picture that shows up when browsing through the Finder menu, as it will be a low resolution images which will not be editable. Ask me if you are unsure about what this means. After all images are on one document, immediately save the document as follows: "yourname_5minwalk" into your art shared folder.
5. Arrange the images on the page, further adjusting the size or cropping if necessary. Again, consider the composition of the arrangement of the photographs on the page. They should "flow" from top left to bottom right, and utilize the "rule of thirds". Overlapping is okay, but not so much that important parts of images are cut off. Rotating images is also okay, but only when it is done skillfully and with the overall composition in mind. Critiques will help to identify the overall success of the composition.
6. Create a "pattern" in Photoshop by selecting an interesting part of one of your pictures with the rectangular marquee tool. Go to (edit > define pattern) and name your pattern something you will remember. Apply the pattern into a new layer (Layers Pallette > New Layer) by (Edit > Fill > Use Pattern). Afterward, blur the pattern layer (Filter > Blur > Gaussian Blur) adjusting the amount of blur to maximize the images while "pushing" the background pattern back. Experiment with levels on the background pattern to make it complement the images, or to prevent it from being distracting form them.
7. Make any final adjustments to each image (levels, color balance, cropping, sizing, etc.), flatten the image (Layers Pallette > Flatten Image), and save the flattened version as follows: your name_5minwalk_flat. Do Not save the flattened version as the unflattened one (yourname_5minwalk) when closing the file...so DO NOT save changes to (yourname_5minwalk) or the unflattened version will be overwritten by the flat one.
